Overview
This guide walks through the LGF installation flow on EL9. It starts with the ISO and digest downloads, then moves through the installer summary, first-time setup, and the first operator console login.
Downloads
Before you boot the installer, download both the ISO and the matching SHA256 file:
Verify the download before you write it to media or attach it to a VM:
curl -LO https://repo-001.lindeninfrastructure.com/lgf-iso/LGF-v0.8.9-Rocky9-x86_64.iso
curl -LO https://repo-001.lindeninfrastructure.com/lgf-iso/LGF-v0.8.9-Rocky9-x86_64.iso.sha256
sha256sum -c LGF-v0.8.9-Rocky9-x86_64.iso.sha256
If the checksum does not report OK, download both files again before continuing.
Prerequisites
- An EL9 host or VM
- At least 4 CPU cores, 8 GB RAM, and 80 GB of storage
- Browser access to the first-time setup UI
- Root or sudo access for the install process
- A plan for the bootstrap admin password change during setup
1. Review the installer summary
The installer summary screen is where you confirm the base machine settings before installation starts.
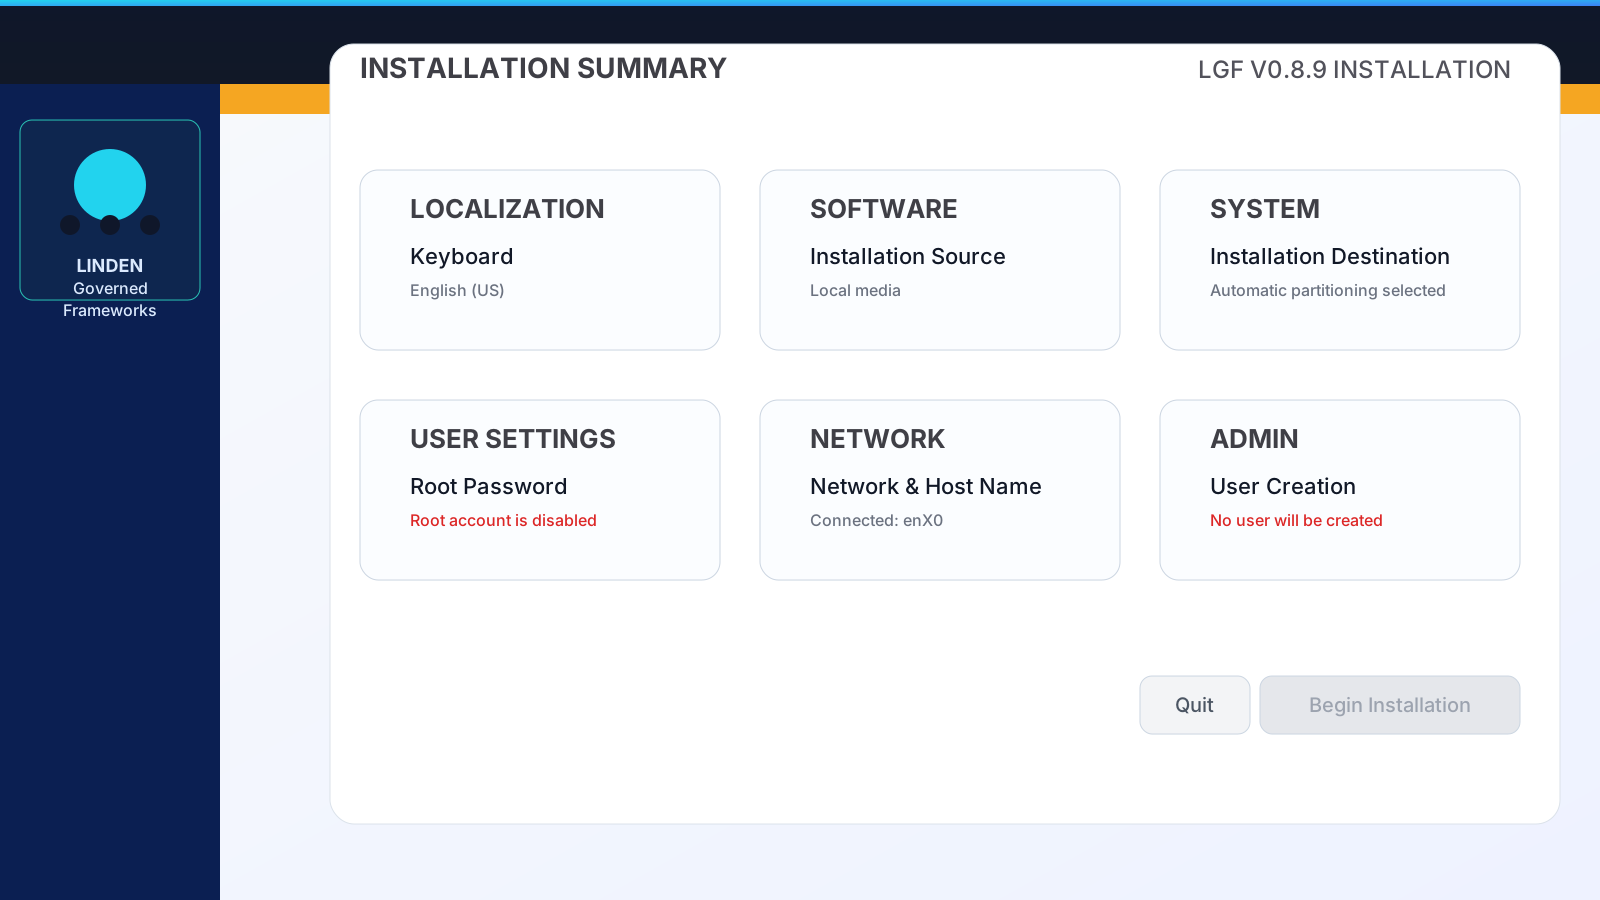
_Figure: The installer summary should show localization, software, system, and user settings before you begin installation._
- Confirm keyboard, language, time zone, and installation source.
- Review the destination disk and network settings.
- Leave root disabled if you want the console admin flow to manage access.
- Click Begin Installation once the summary matches your deployment plan.
2. Complete first-time setup
After the base install finishes, LGF starts the first-time setup wizard.
UI mode and license
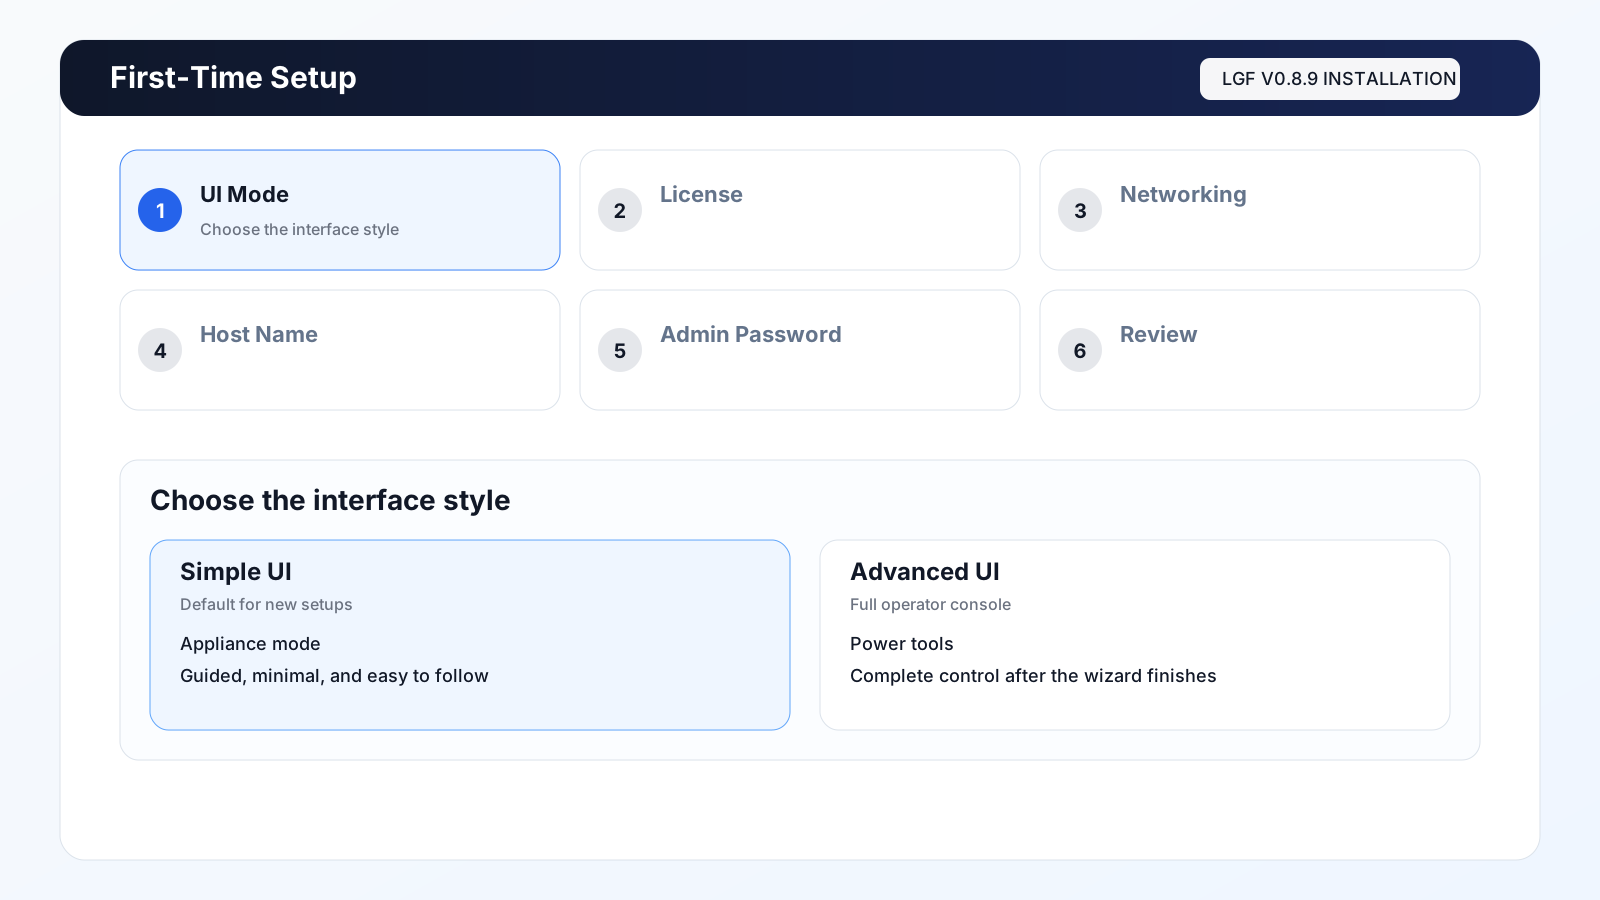
_Figure: The first-time setup wizard begins with UI mode and license selection._
- Choose Simple UI for a guided appliance-style experience or Advanced UI for the full console surface.
- Enter the license key when prompted.
Networking
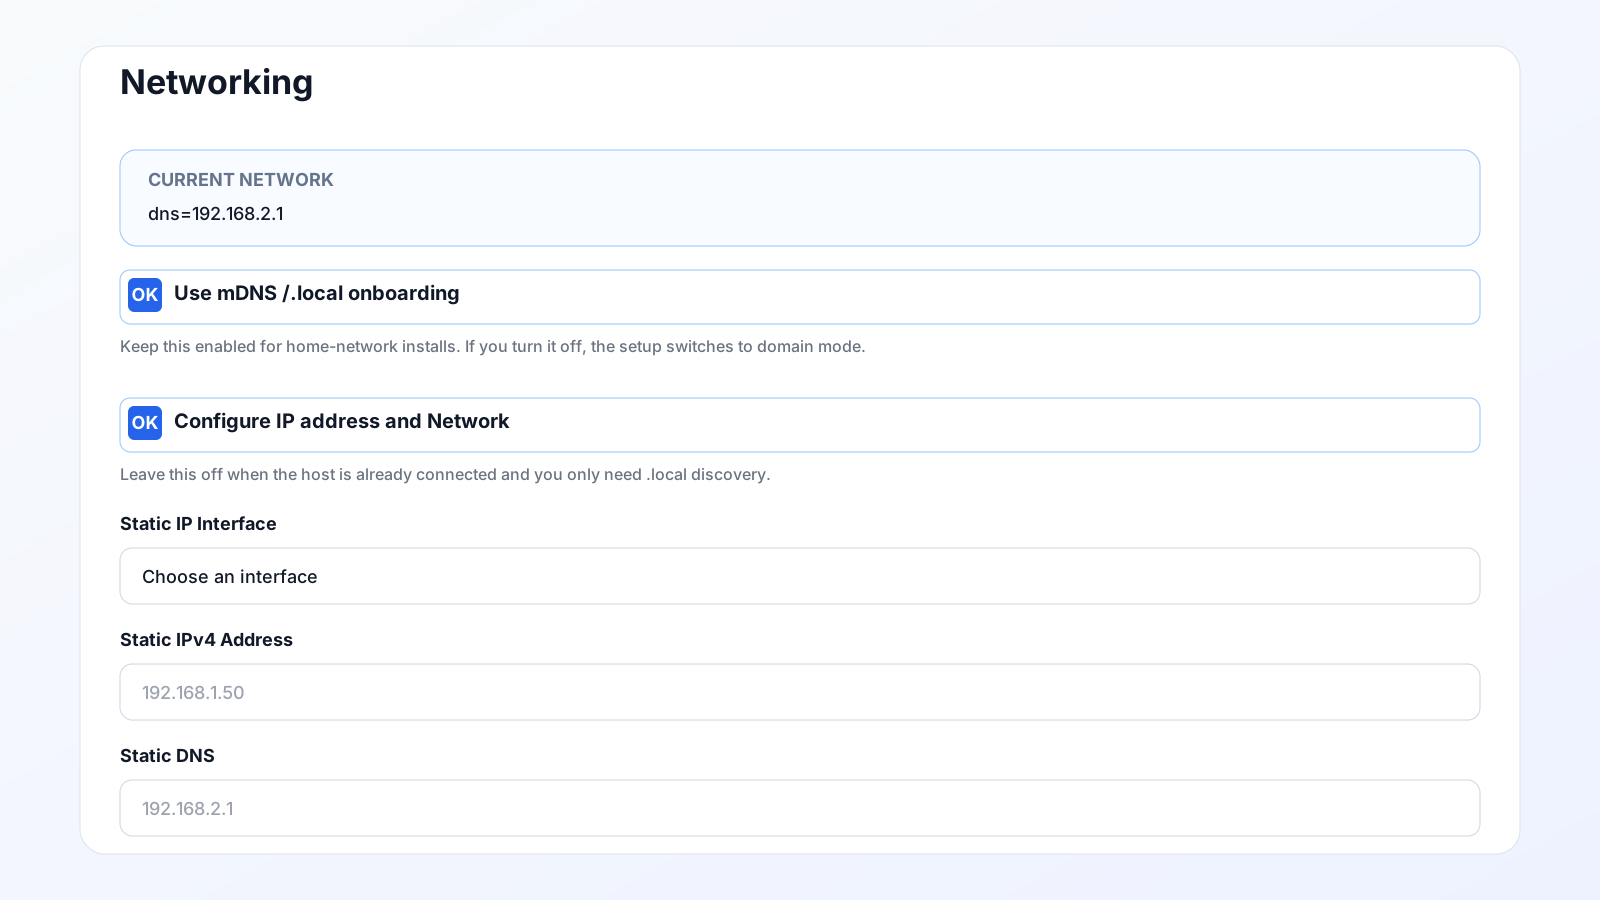
_Figure: The networking screen is where you choose mDNS or a domain-backed configuration._
- Decide whether the install should use mDNS for local discovery or a domain-backed setup.
- Confirm the interface, IPv4 address, gateway, and DNS values.
Host name and admin password
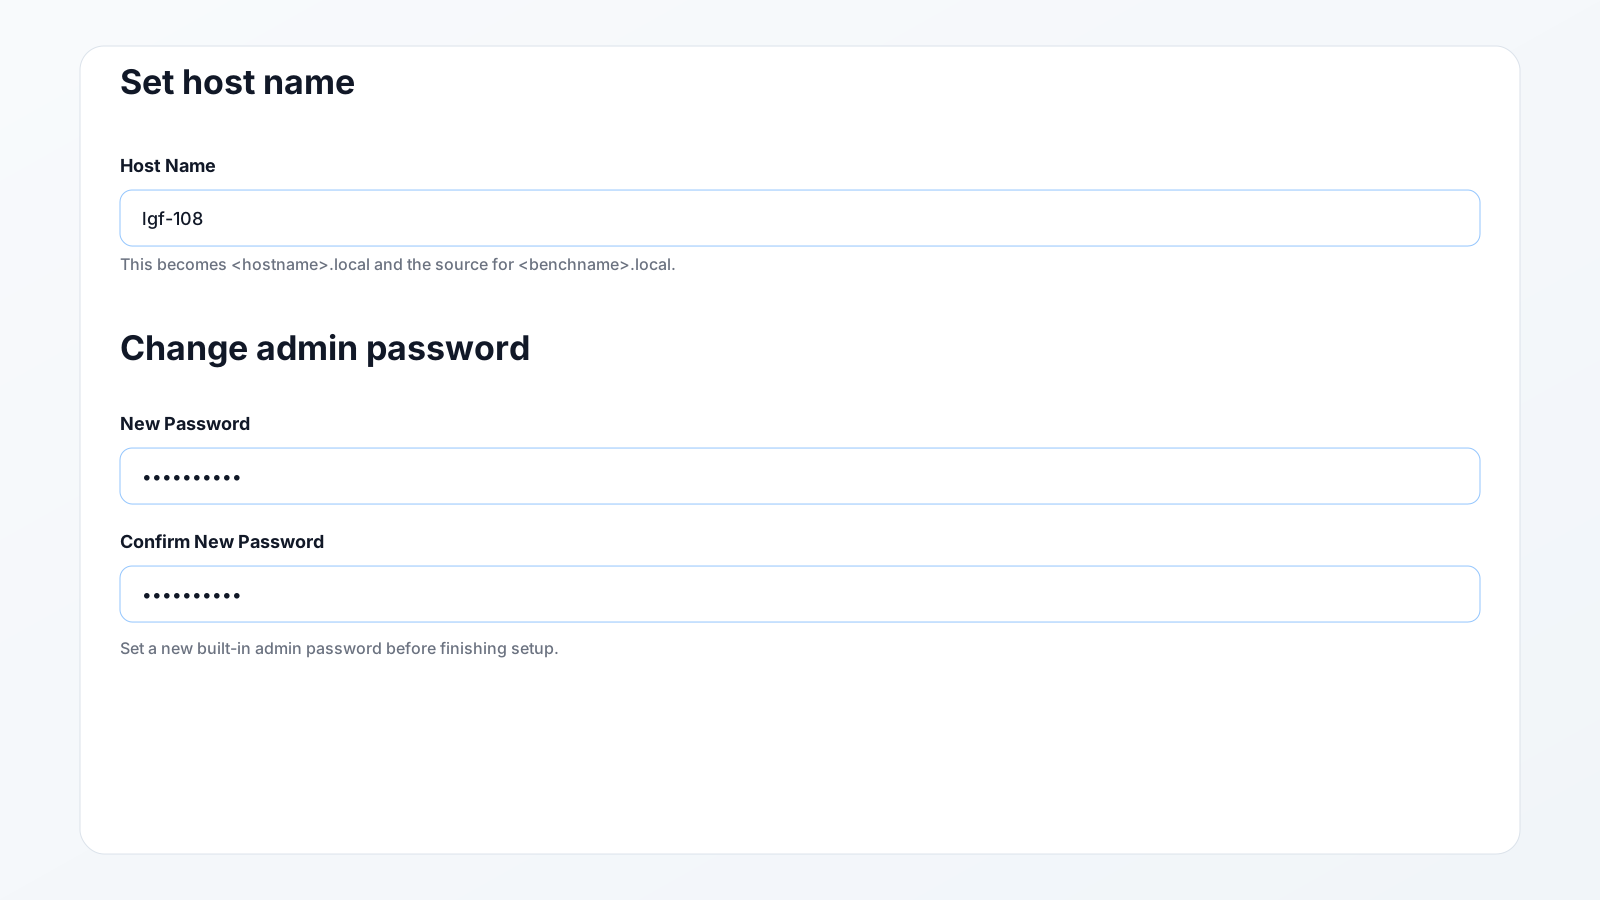
_Figure: Set the host name and change the built-in admin password before finishing setup._
- Set the host name that will identify the machine and its benches.
- Set the built-in admin password before continuing.
Review and finish
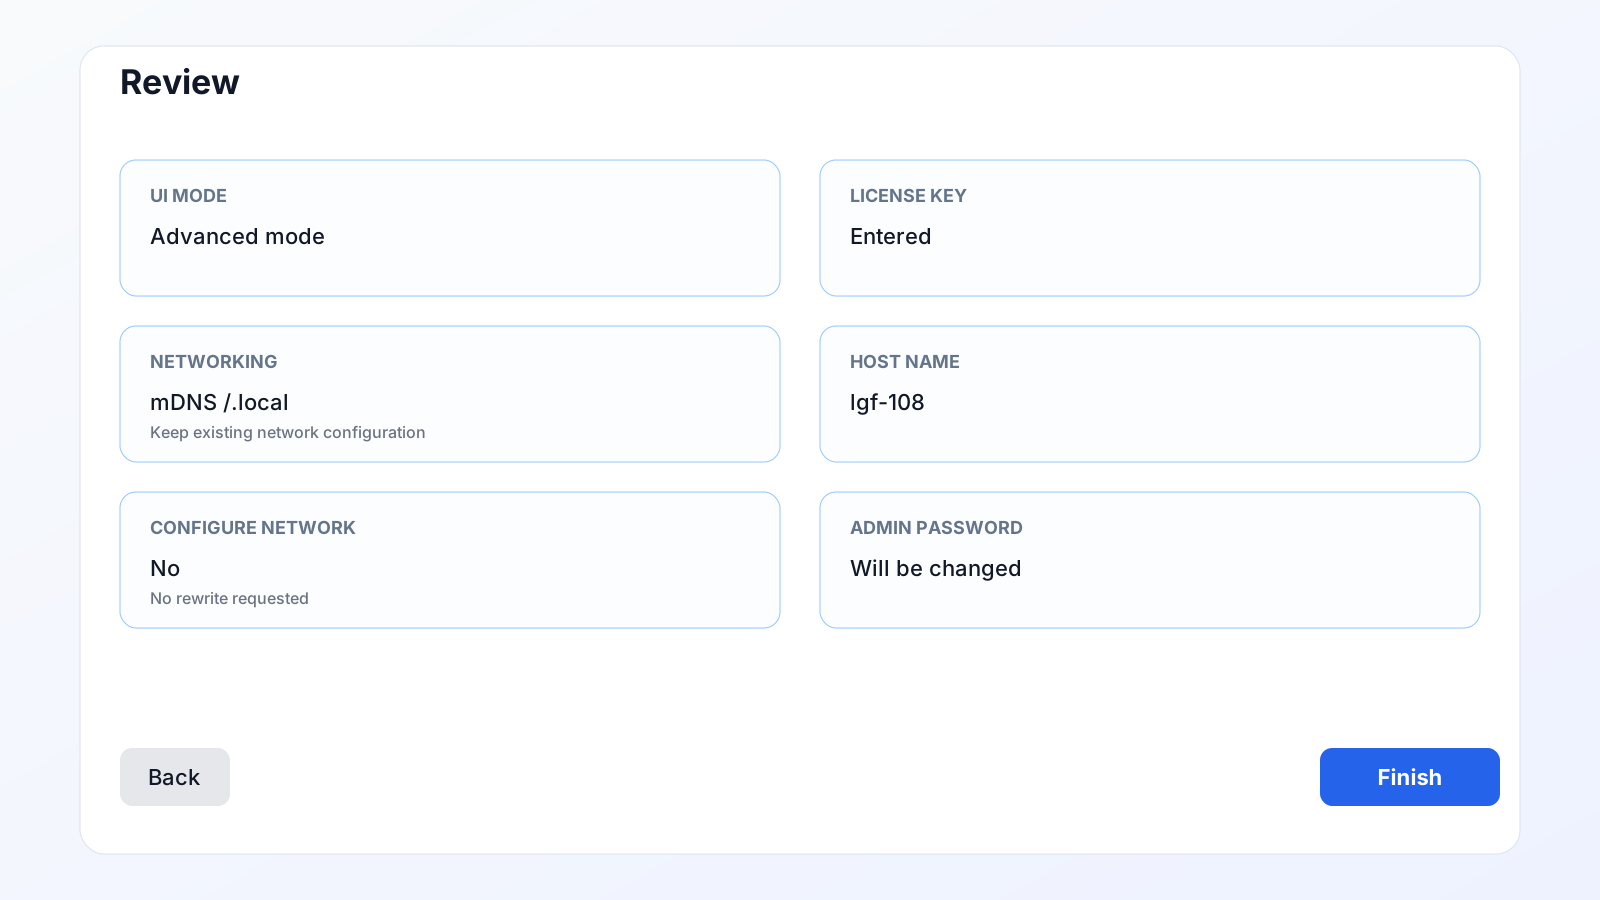
_Figure: The final review screen lets you confirm the chosen mode, network, host name, and admin password before finishing._
- Review the summary.
- Finish the wizard and let LGF finalize the configuration.
3. Sign in to the operator console
Once setup completes, sign in to the operator console.
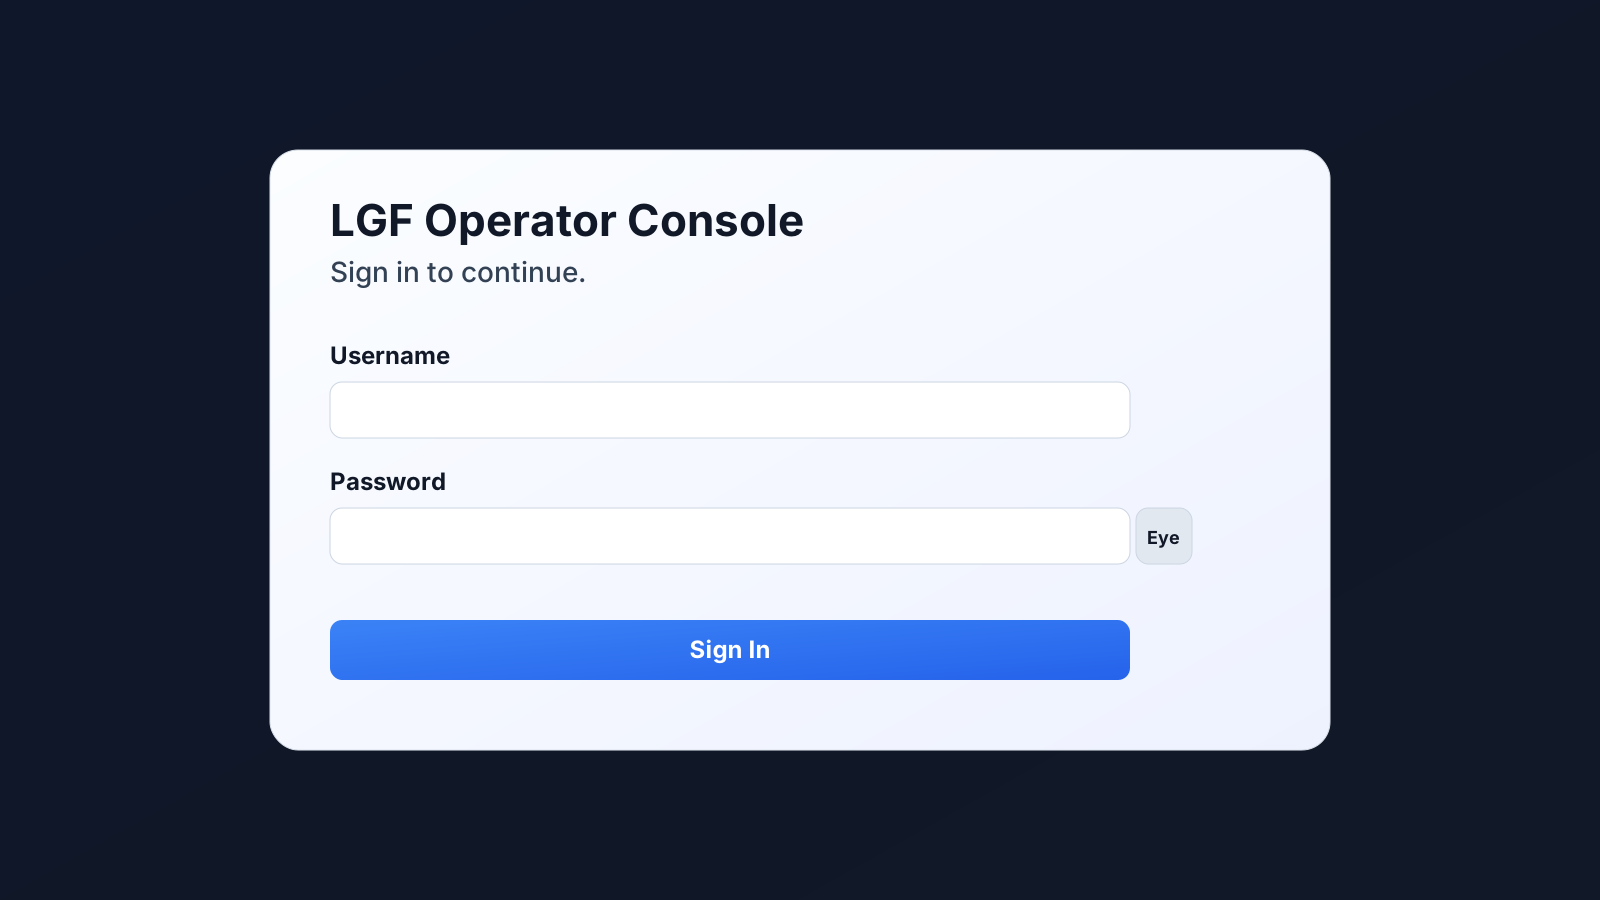
_Figure: The operator console login screen after the initial install._
Use the bootstrap credentials for a fresh install:
- Username:
admin - Password:
admin
If the wizard already prompted you to set the admin password, use the password you just created. In either case, change the default password as soon as you are able.
4. Verify the installation
- The ISO checksum verified successfully.
- The installer summary matched the target host.
- The first-time setup wizard completed without errors.
- The operator console accepts the bootstrap admin login.
- The host name or mDNS name resolves from a browser.
Troubleshooting
The ISO checksum does not match
- Cause: The ISO or digest was downloaded incompletely or from the wrong release.
- Fix: Re-download both files and run
sha256sum -cagain.
The setup wizard does not open
- Cause: The browser is pointed at the wrong address or the host name is not resolving.
- Fix: Use the exact setup URL shown by the installer, then confirm DNS or mDNS resolution.
The operator console login fails
- Cause: The bootstrap password was changed during setup or the wrong credentials were used.
- Fix: Use the password set during first-time setup. If needed, return to the setup flow and confirm the admin password step completed.